Saturday 30 April 2011

Urban board project - part 13

I am pleased with the final building, it looks modern and architectural but is still capable of being gamed with.

From this angle you can see its more 3D and has levels for placing figures which are hidden from a frontal view.

Initial thoughts on the city layout.


Now all the builds are finished the priority for the weekend is;
1. Finish painting
2. Layout the city board

Friday 29 April 2011

Urban board project - part 12

Assembled a board to represent a small park or area for statuary as part of the commercial district.

Primed.

This final build for the commercial district has been very complex. First of all I came up with the concept whilst sketching in the park earlier in the week, I then had to modify it to make it suitable for gaming. As it will be two tone another complexity is assembling it as two interlocking halves. I dont anticipate having to do anything as complex as this again.

Here is the first section assembled and painted.

For tomorrow the focus is finish the second half and also final painting of the other projects.

Thursday 28 April 2011

Day of rest

No physical progress today, tired from a 3 day work week. I have some designs and measurements I plan to start cutting tomorrow morning. This should give me enough buildings to populate the first board. The general theme is city/finance district for the first board. The next one will probably themed on residential, with the final two more industrial in theme (so I can use the IMEX platformer and hexagon sets). Might have a break before the next board and paint some of the figures from Salute.

Wednesday 27 April 2011

Urban board project - part 11

Today I have managed to finish the detailing on the building as well as create and prime a base for it with small walls. For some reasons the metallic surfaces come out really poorly on the camera.


I have also managed to finish painting and assembling the shell building. I am happy with the effect the wood filler gives. Now it is finished I have to figure out the best way of treating the surfaces, I assume a matt varnish spray should protect them. I will find out soon.


Tuesday 26 April 2011

Urban board project - part 10


Back to work today, cant say I enjoyed any aspect of it apart from leaving. This is going to slow down progress, so between now and friday no new builds - just finishing what I have started and detailing.
The picture hasnt turned out very well due to lighting. I have two contrasting metallic colours. I used masking tape to cover areas. However whilst this works fine on paint, it has stripped the surface from some of the unprimed foamboard. I think I can cover most of these areas with detailing. To start I have used shiny black card as windows and add thin metal strips. The strips are edging detail stickers you can buy for making cards.

Monday 25 April 2011

Urban board project - part 9

This has been a more complex build so not as much accomplished today. Also spent a bit of time in the park and sketched some ideas for future builds.
The main thing with this was covering off exposed ends with plasticard. With the balconies this building should be more interactive for gaming.

Sunday 24 April 2011

Urban board project - part 8

Feeling a bit rough today, anyway soldiering on with something a bit more ambitious.
Here are the cut pieces, I used the 45 degree angle on the mount cutter to cut the indents.

Here it is assembled with a hot glue gun, prior to filling with milliput.

The three buildings I have created so far lined up, all at different stages.


Next steps for building two;
Drybrush walls as concrete and ground as mud
Paint girders
Add florist wire to create rebar affect
Final assembly

Next steps for building three;
Prime
Paint shiny (and bright) metallic
Add stickers to create window effect

Also finish concept sketches for next building, probably larger and more ambitious. I do lots of diagrams with measurements prior to each build.

Saturday 23 April 2011

Urban board project - part 7

Another building, this time a shell (inspired by things I saw at Salute).
Step 1- cut all the pieces required

Step 2 - Each level assembled

Here it is all together

Step 3 - Added some wood filler to texture the surfaces. Should be better to paint/drybrush

Friday 22 April 2011

Urban board project - part 6


Spent some time with milliput filling gaps and coverng areas where the foam has melted. Also picked up some Wills scenery from a local train model shop and inserted the cobbled drive. The block is designed to be oriented either way round and is also modular with 3 levels. I primed it grey and then covered it in a car spray (Daewoo Stone Silver) I liked the look of. I then attached some shiny black card to look like tinted windows. Finally painted details - boltgun grey metal covers for doors and windows, brown wash for weathering and brown for the paving.
Lessons learned this time.
1. Spray at a good distance from the surface and dont overdo it or you get paint smears. Fortunately by covering these raised surfaces with a brown wash it looks like corrosion.
2. When glueing card dont get any glue on the surface or it removes part of the surface. Fortunately again it looks like damage/peeling so I might have got away with it.

I am lucky that the block is intended to look beaten up as my quality control and detailing is so poor I couldnt make something thats looks brand new even if I tried. Which is what I want to do next...

Thursday 21 April 2011

Urban board project - part 5


The learning curve increases. Making a square three story building is very simple, however my tolerances are still a bit shoddy and my hands burn from spilt glue. However now that I have primed it grey I have learnt two important things.
1. Imperfections (glue, gaps and untrimmed edges) show up very clearly once primed.
2. The foam inner melts in contact with the primer.
So the learning points are be more precise, be more careful and make sure exposed foam is covered.

I am not disheartened, we all have to start somewhere. In fact I am trying not to get caught up in my dreams of a whole town based upon the architecture of Frank Lloyd Wright. Anyway, next steps are some more challenging and complicated builds. Its the bank holiday weekend so I should have plenty of time to get things done. Fortunately the weather is stunning to I feel its only right to spend it indoors inhaling chemical fumes.

Wednesday 20 April 2011

Urban board project - part 4

Received my order of foamboard this morning so got straight into cutting strips to size. As you can see I have all the pieces I need. However despite a trial run and dilligent notes I still managed to cut pieces to the wrong length. Foam board is a breeze to cut, far superior to cardboard or plasticard.

I have used plasticard for the roads surface as I plan to cut it apart a bit and this will give a bit more depth.

Finally completed my first ever building, it will probably be modular so I can add extra floors. It was incredible easy to put together with a hot glue gun.


I think I will focus on the buildings for tomorrow and the weekend, I wont glue down the board until I have a chance to learn more.

Tuesday 19 April 2011

Urban board project - part 3


Bit of a learning curve in this. Got myself a new toy, a mount cutter. Its like a portable guillotine which allows you to cut thick card straight and at a 45 degree angle. Very handy.
Having solicited lots of advice I got confused for a minute, and then decided to ignore it all and soldier on with my original plan. I have cut out cardboard frames to represent pavement, however the material isnt very strong or high enough to represent a curb so I may do it in foam board instead. Still a useful exercise to learn things, even if time consuming.
Im "working from home" tomorrow (waiting for parcels with modelling goodies really). Hopefully I can make more progress once I get more. Though I found out that the works in town does A3 foam board as well as WH Smith - so maybe I didnt have to pay the high postage (trying to avoid saying shipping fee, sounds too american).

Monday 18 April 2011

GZG Crusty Mech


I dont think anyone who wasnt at Salute has seen these yet so a couple of pictures (unassembled).

Urban board project - part 2


Work wasnt too harsh today so I had some spare time to think about this. I have placed an order at Hannants for some bits and pieces and also popped to the local model shop to get some evergreen tiles.
At the moment I am in mock up stage as the primed boards are now dry. I have a plan for the four tiles which I think should make them as modular as possible

In addition I am going to leave A4 and A5 spaces in the board. I then plan to make A4 and A5 size buildings and ruins which can be placed interchangeably. This is my first mock up with roads, pavement and spaces for buildings. I will probably do little to the roads apart from add rubble, I had thought of making them from plasticard and cutting them up to simulate damage and decay - still thinking about that. I will also add some decay and damage to the pavement tiles. Still unsure how to texture the gaps between buildings and pavement, might try and do earthen tracks rather than rubble and leave rubble to the modular terrain.

Sunday 17 April 2011

Urban board project - part 1


Now that I have all the figures I need and a pile of IMEX plastic kits from Salute its time to move my dreams closer to reality. I want to be able to play modern influenced sci fi games. I think force on force are the way ahead (with a healthy dose of necromunda for a change of pace) as regards rules and I am happy with all the figures and factions I have compiled (killer robots, ABC warriors, Torquemada terminators etc). Now to do my first proper scenery project.

A nice sunny day and I went to B&Q to get them to cut down some 12mm MDF into four 2 by 2 foot boards. I am now in the process of priming them. Though I wish I had waited until I was at poundland - B&Q primer = £14, poundland = well you can guess.

Tomorrow I will put a big order into antenocitti's workshop and cross my fingers that it will get to me before the bank holiday weekend. I want a variety of plasticard to mark out roads and open areas and foamboards to create buildings and features.

The boards will be very flat so that they can be easily transported and stored. My emphasis will be on modular buildings and other terrain that can support as many scenarios as possible.

Post Salute


Enjoyed the day and managed to get most of what I wanted. I have had the idea of an urban/sci fi game in my head for a while so my purchases were based around this.

Force on Force - started reading it last night and it exceeds my expectations. The clearest explanation of intent and rules purpose I have encountered. If only all rules knew what they wanted to do so clearly.

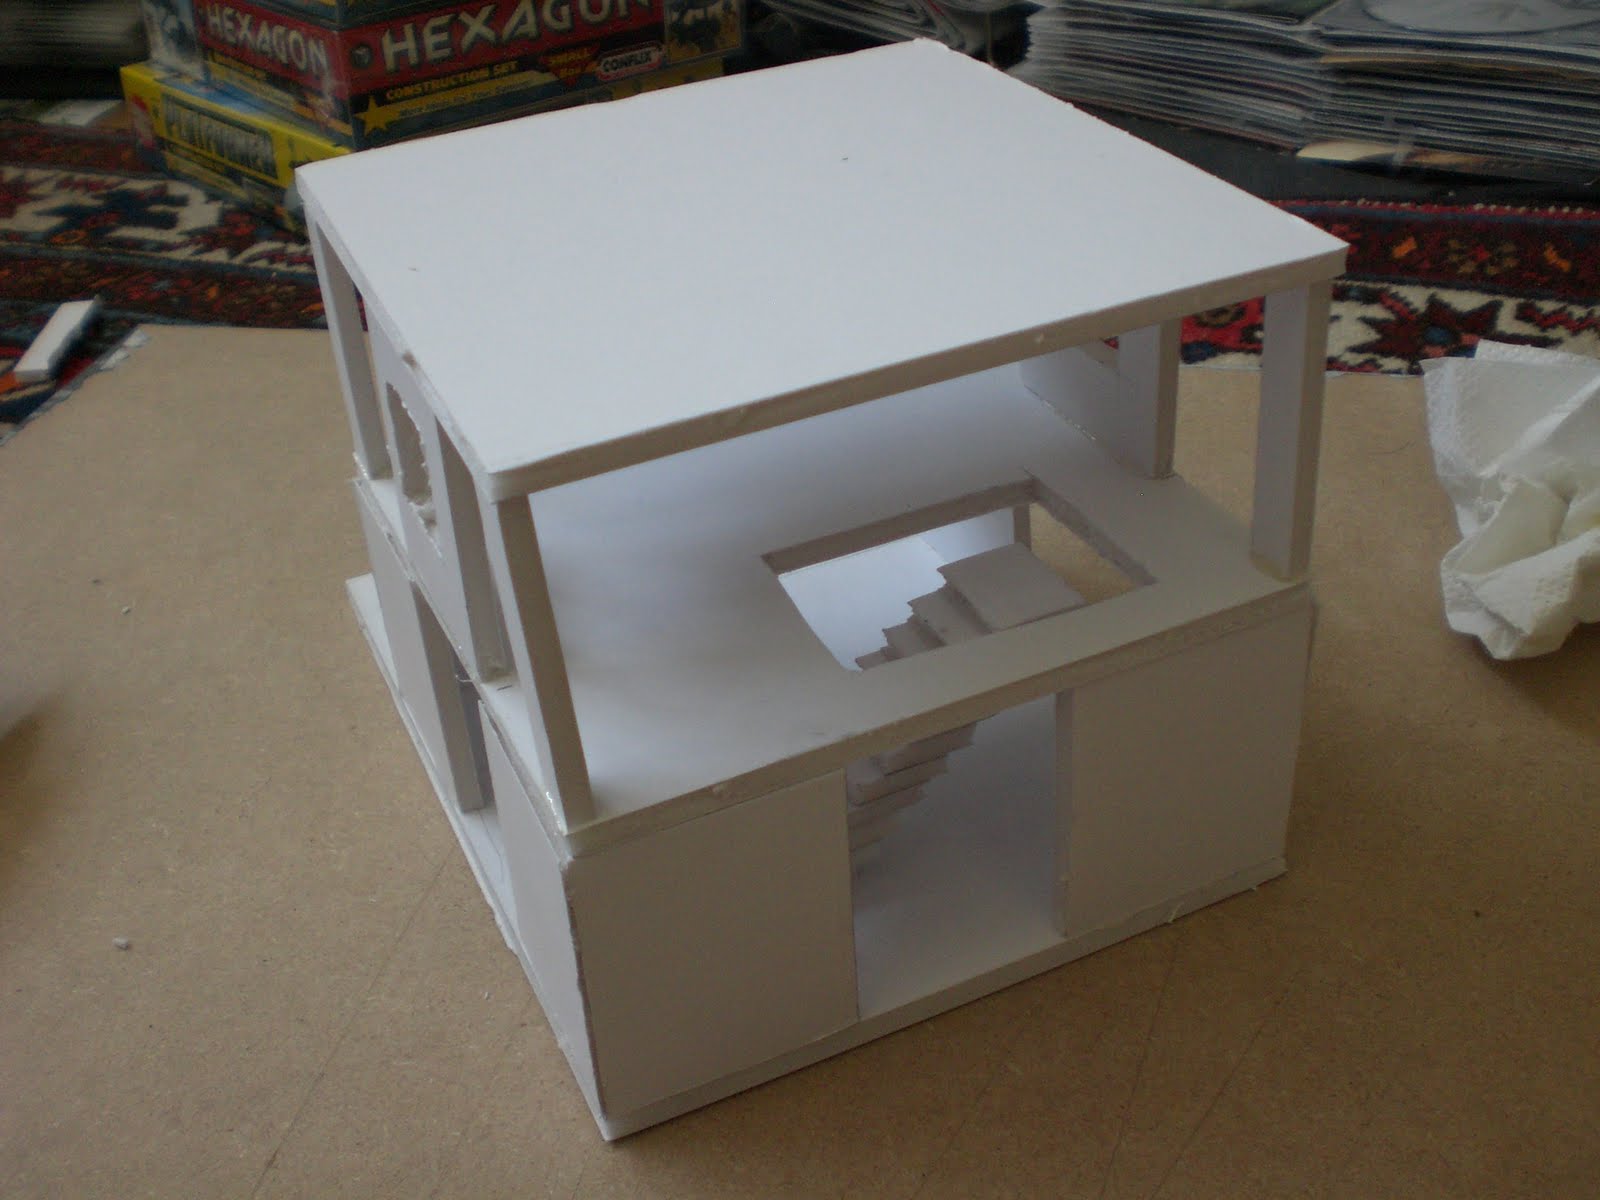
Onto the lead (no plastic for me - apart from the 3 IMEX platformer/hexagon sets I picked up).

Black Hat - Cobalt mercenaries - I will use these as a terminator body guard for Torquemada.

Black Hat - Skeletral marines - Another faction

Westwind - US Battle suit and Soviet guard - nice old fashioned looking mecha

Project X - Power soldat

GZG - "crusty" power suit (trying to figure out where all the little bits go)

EM4 - power suits, terminator robots and savages

finally a Hasslefree Tiriel.

A good day out, sadly didnt play any games or see everything (as usual). I need to get it more together (I say that every year).

Ancients rules and plastics seemed to be in vogue. Personally the only ancients rules that tempted mere are impetus - which arent new.

Monday 4 April 2011

Be Pure, Be Vigilant, Behave


To celebrate the release of the new EE Daemonhunters codex I thought I would paint up the original Terminator. Now if only someone would do a Marshall law figure, Kevin O'Neil really is an amazing artist.
Anyway, I picked up the deamonhunters codex. Better fluff than the last one, however chock full of errors and omissions. The editors and proof checkers really arent doing their jobs, feels like a rush job. I always liked the idea of the grey knights going back to slaves to darkness but the main problem for me is the figures. They combine the two things I dislike the most in miniatures - curved armour and hyper detailing. Plain spain marines are horrible to paint (not even any textures), combine this with all the fussy detailing and I just dont want to paint them. However Black Hats Cobalt mercenaries are decent looking proxies so I may pick up a few of them at salute.

Friday 1 April 2011

Gothic Serpent

Finally completed the HLBSco US Moderns. Took me ages, lots of time spent researching the right camo used for the mission. Next Spartans.


Rangers with chop chip helmet covers

10th Mountain in choc chip.

Delta chaps.